As promised in part 1, these are the steps for the wedding "artworks":
1: Collect all the materials you will need (clean chopping board, metal ruler, long plastic ruler, pencil, blade, your papers). I used frames from Ikea for this project. The Ribba series is recommended.
2. You need to first decide on what papers you will use. I used the rust/red colour, and the gold, because I wanted to place these framed photos in our bedroom, and the colour scheme happens to be Rust/red, gold, white and black. I deliberately used a photo that was smaller than the mount size, so I can have a large double mount of gold. I bought my papers from Pepe's Paperie.
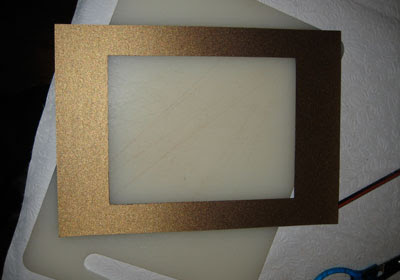
3.Measure the photo. Minus approx 1cm from the width, and 1cm from the height, then halve each of these measurements. Square up on the back of your A4 piece of board (I used the gold cardboard for this), these measurements (starting from the outside). Check to make sure your photo sits approx 5mm outside of each of these lines.
 4.Using your metal ruler, blade, and clean chopping board, cut along the line, to create a window for the photo to sit in.
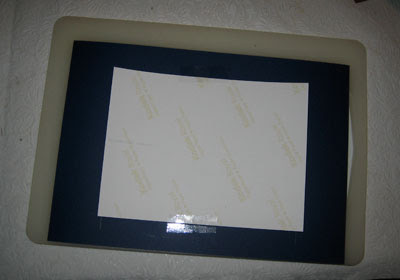
 5.Use sticky tape to tape the photo face-down to the back of the window mount. Sticky tape is best, as it allows you to undo it, and reapply if necessary.
 6.Check to make sure the photo is sitting square to the mount.
7. Using the mount, draw the dimensions of the window size for the large mount, onto your piece of paper. (In my example, this is the rust coloured paper)
8. Cut this paper out, and cut out the window.
9.I decided that the mount looked best, with a highlight of black. The best way to do this is get a wide pen, and very carefully mark along the diagonal edge. (see photo)

10. Glue your pretty paper, to the large window mount. Then tape the small window mount, face-down to the large window mount. Check that it has been lined up square.

11. I decided to decorate the corners with a little gold detailing, but this is entirely optional.
12. Assemble the frame as normal, and hang it proudly!


No comments:
Post a Comment